
This is one way of making a model space ship using a vacuformed shape as the base.
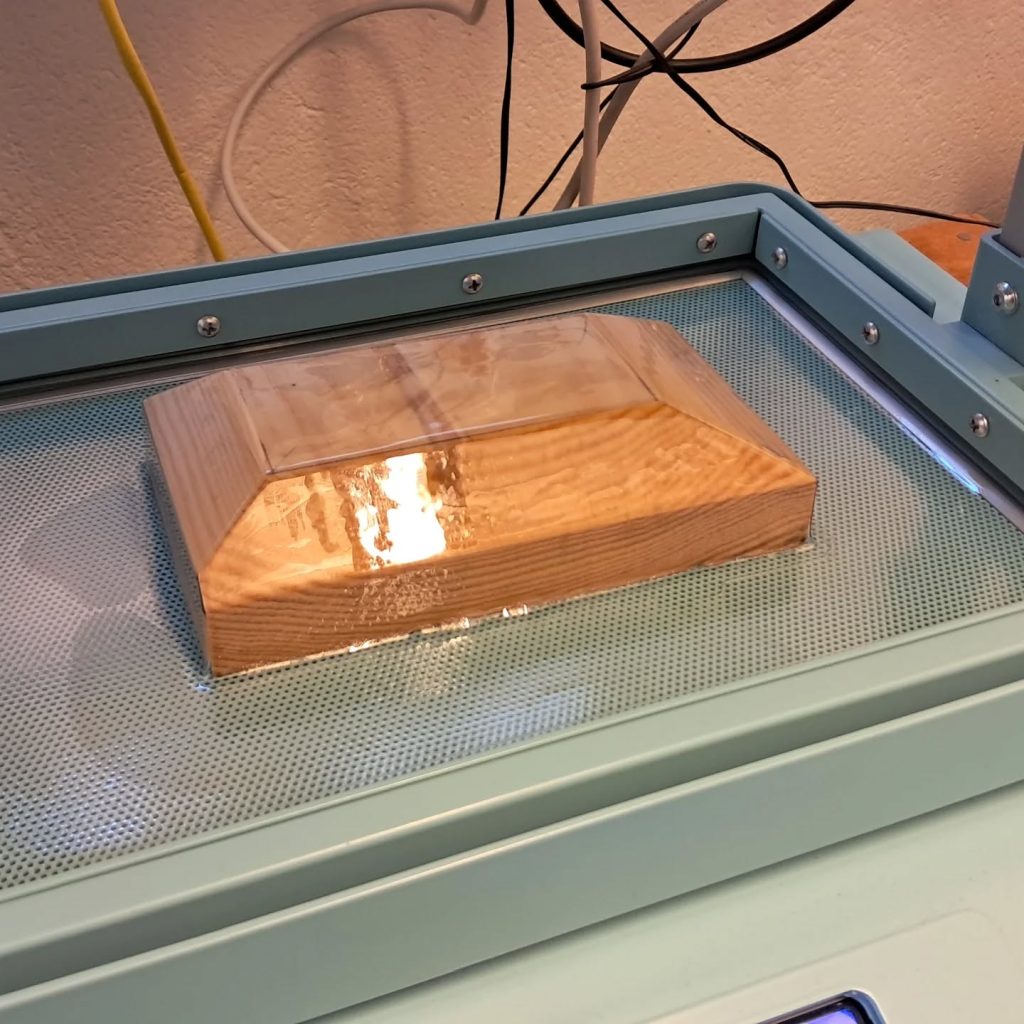
Create a basic block shape in wood or other sturdy material. It’s important that it can withstand heat. Use that block to vacuform the hull of the ship.
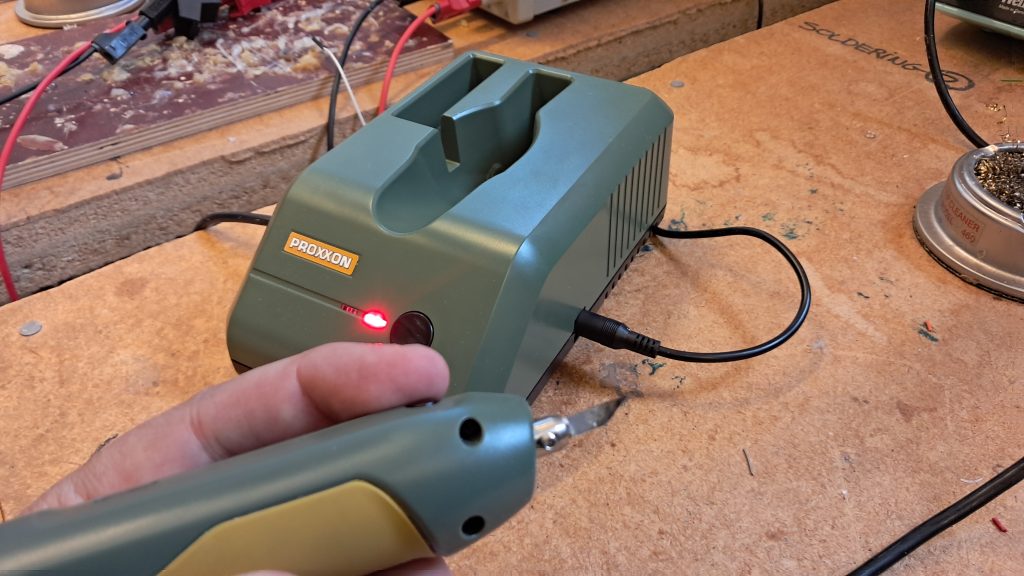
In the lab we have an ultrafrequency knife which can be useful to cut out the desired shape from the excess plastic. You can naturally use other cutting/sawing tools as well (scissors, coping saw, band saw, etc). Depending on circumstances, they might be better.
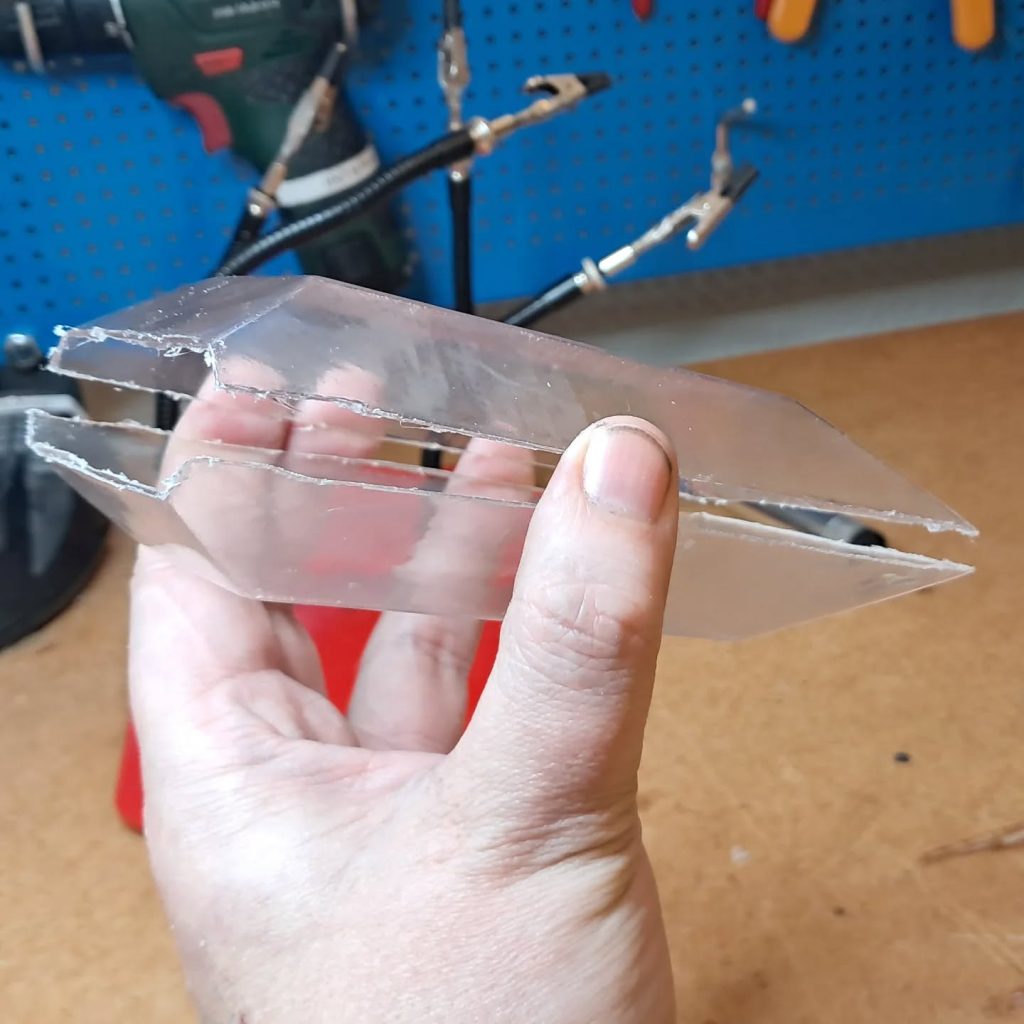
In my case I used the ultrasonic cutter. It leaves some rough edges which I refined in a beltsander. Two vacuformed shapes made the hull I needed for my ship.
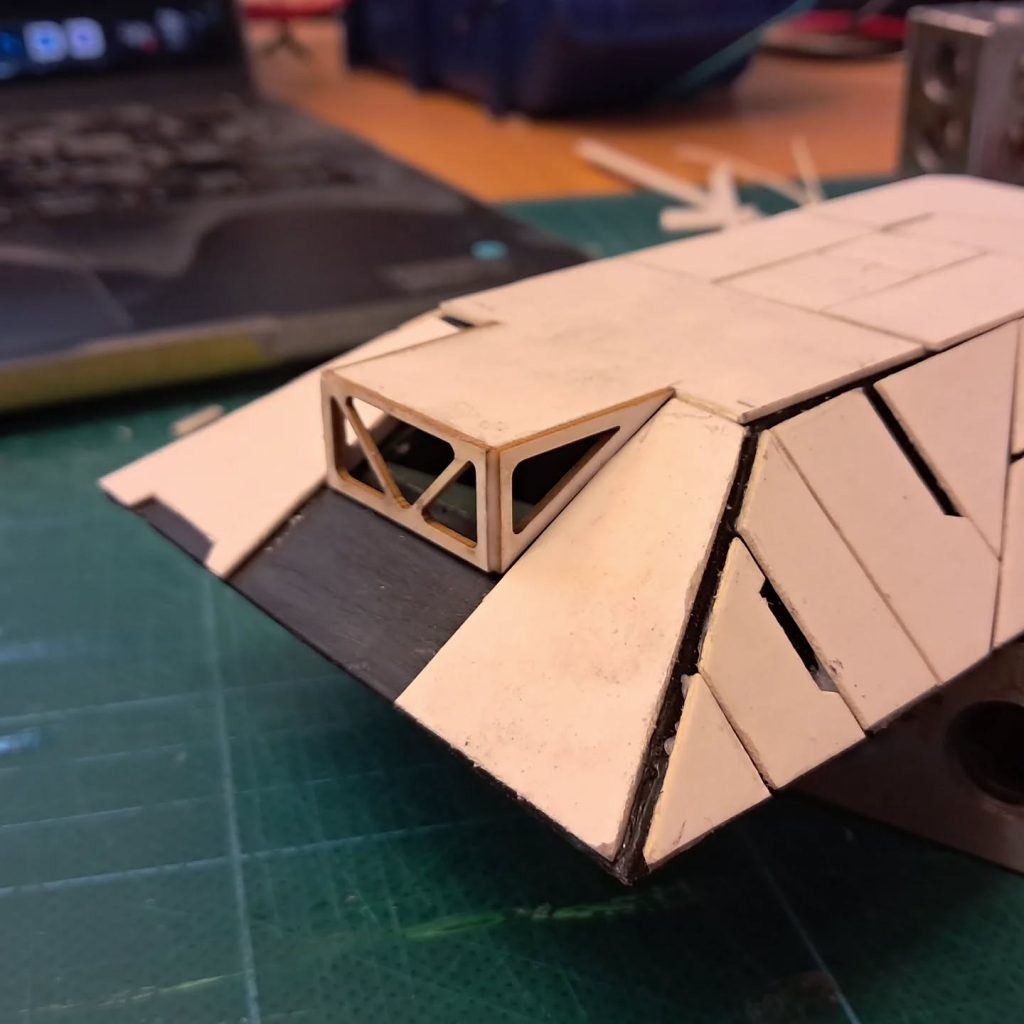
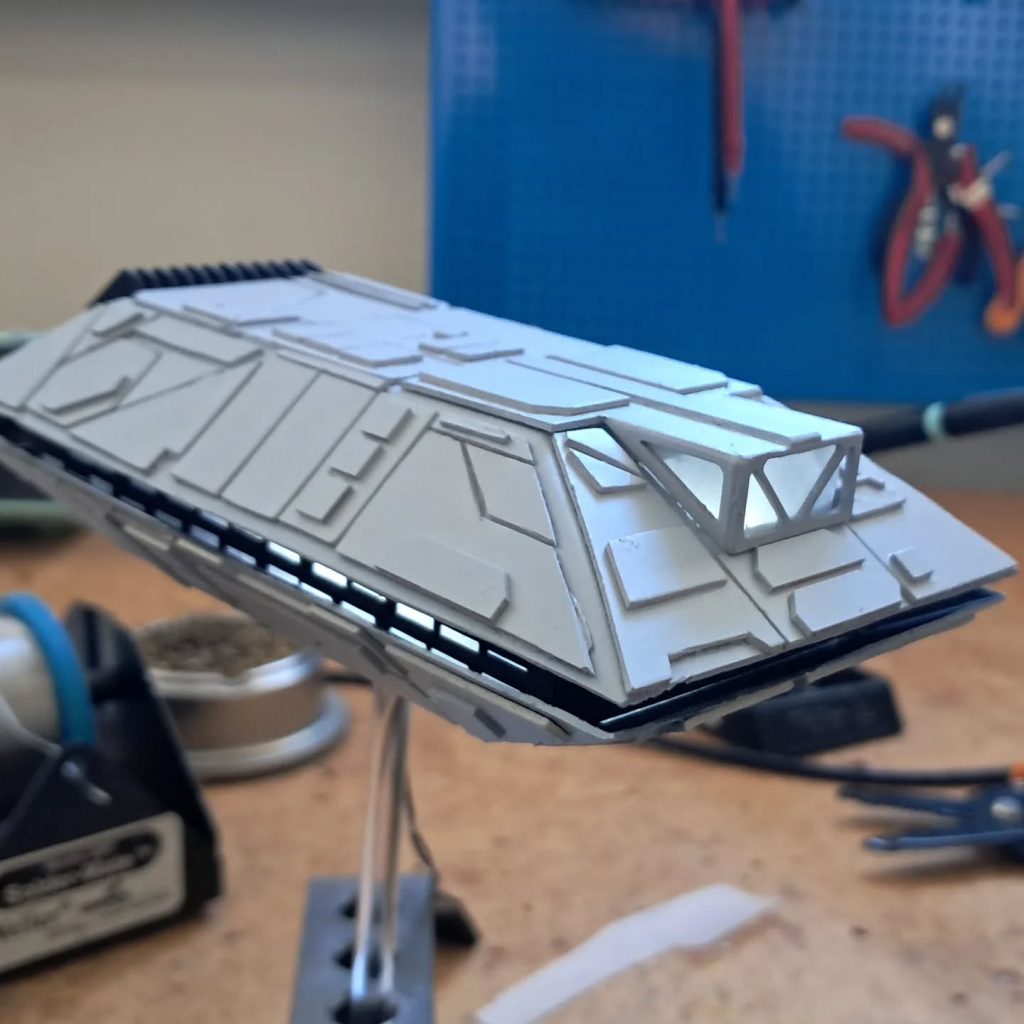
Time to start dressing the outside of the hull. Start by sanding the hulls to make the surfaces less slick. Inspired by Starwars estethics I’m cutting pieces of thin cardboard in “technical” patterns and glue them to the hull. Adam Savage has a great video about this. I coated the hull with a black base coat of paint, but it is important to then rough up the paint and the inside of the cardboard panels for the glue to have something to grab onto. Otherwise the smooth surfaces can make the panels drop off.
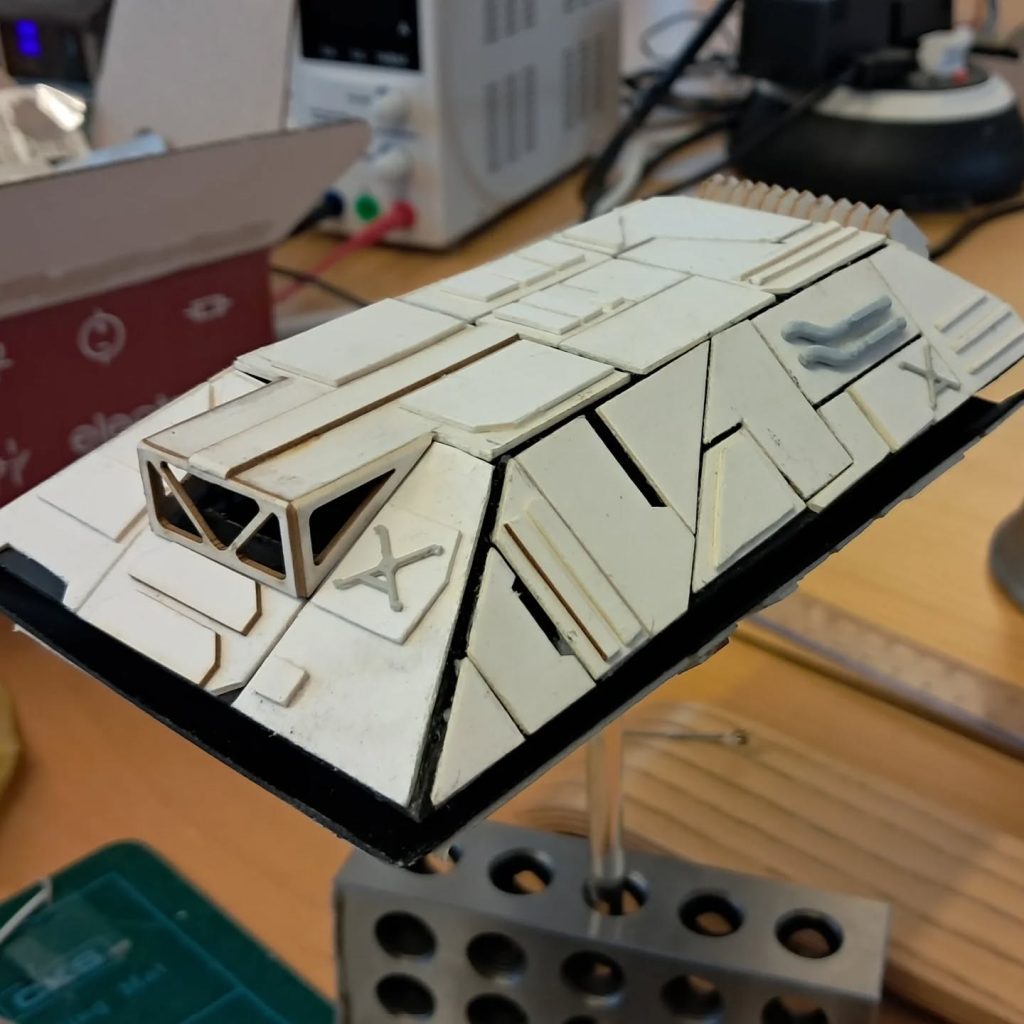
The amount of detailing is of course up to your imagination. One can layer more pieces of cardboard or even take random scrap bits to imply more details. It will all blend together when you cover it all with paint later.
One of the benefits of have these vacuformed shells is that we can house stuff inside. In my case I put in some extra effort to make a small cockpit and keep the two hull parts separated with some laser cut card stock pieces for extra details. In both cases I put in some translucent vellum paper to diffuse light from electronics inside.
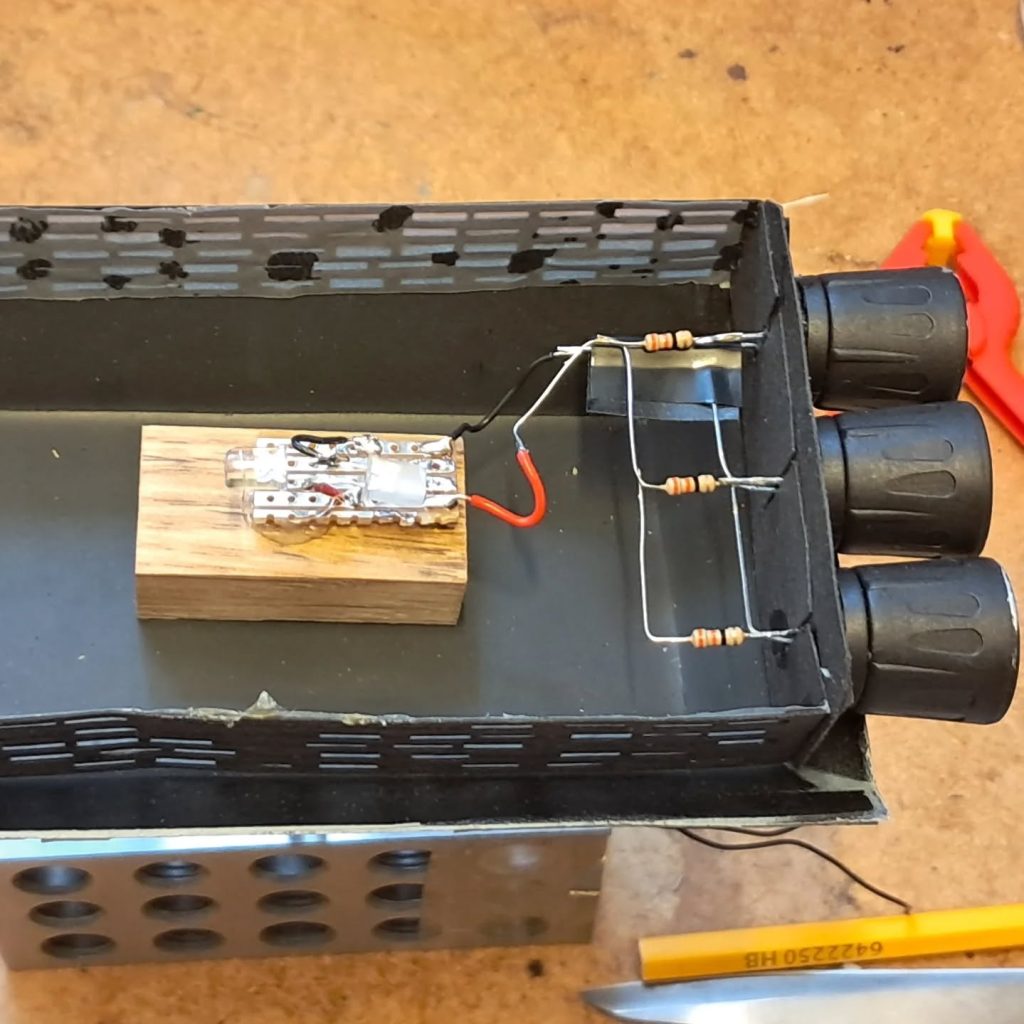
In my case I wanted lights emitting through windows, and some lit up engines. I made a small circuit in the center for general light, and set three big LEDs in the rear to act as engines. The circuit is mounted on a piece of wood that also works as a mounting point from beneath for display. The engine exhausts are parts of audio connectors I had lying around.
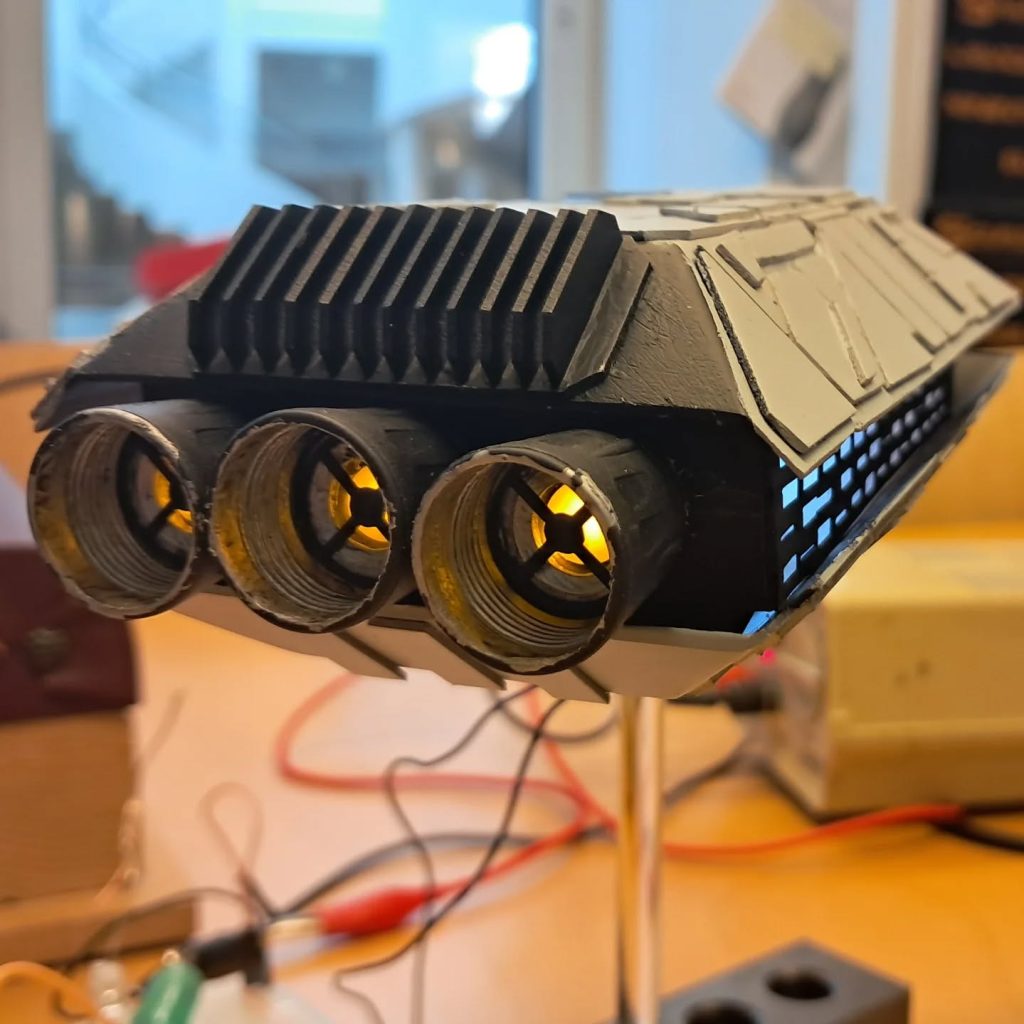
To make the engines look less like plain LEDs I lasercut a crosspattern of cardstock to add some detail and hide the point of light. Underneath the ship you can see the acrylic stick I’m using with the mounting point for display.
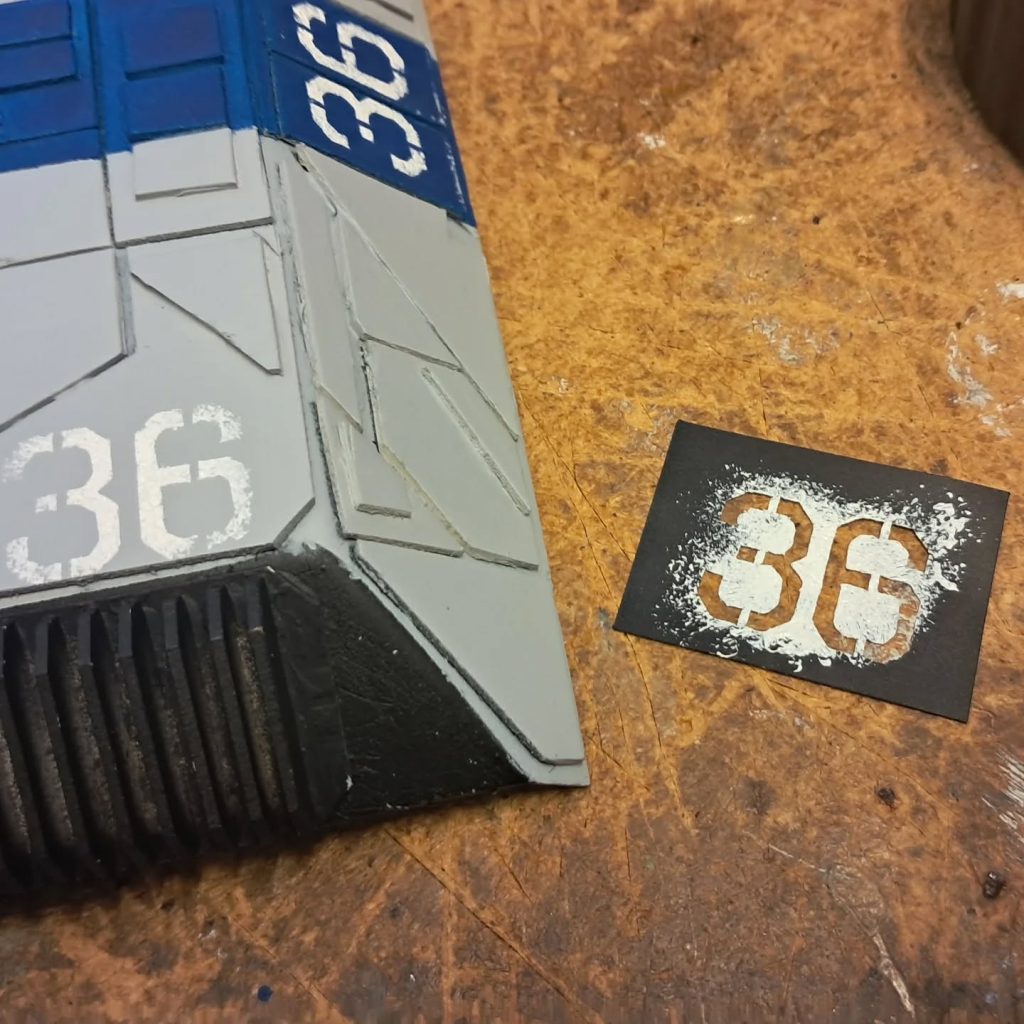
I used our vinyl cutter to make a stencil for adding graphics to the hull. By dabbing color from above I minimized the risk of bleeding over the edges. Of course one could instead just make the graphics by cutting the forms and add as a sticker.
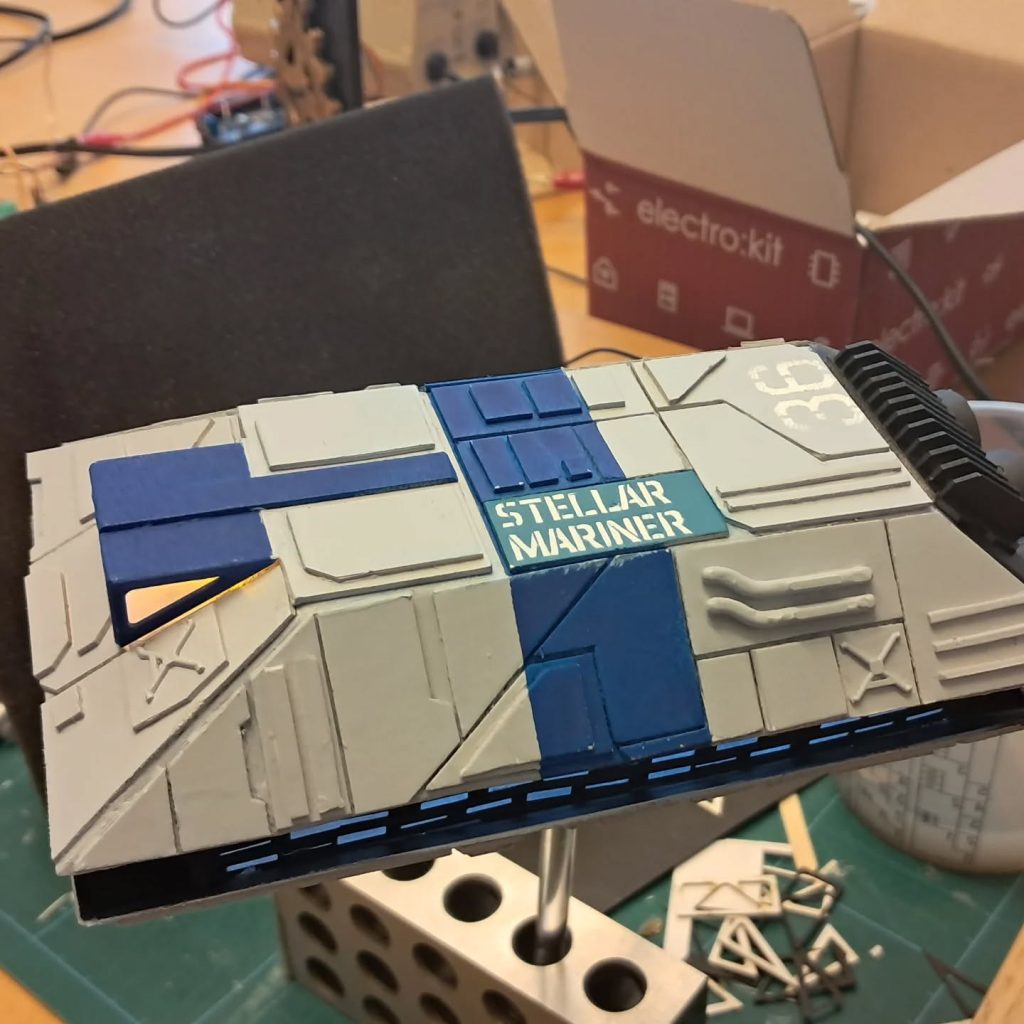
The colored stripes were added with traditional masking and painting. The name of the vessel was added with the stencil technique previously mentioned. Although, this is pretty much the smallest size our vinyl cutter can do without ripping up the material. The final step is to solder a powersource to the lights and the ship is done!